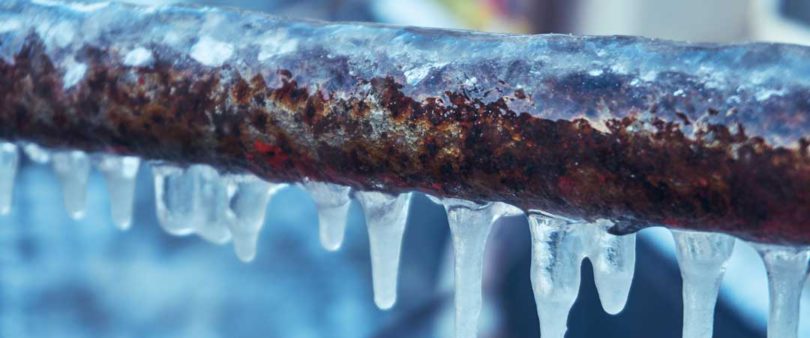
Winter isn’t always predictable. Some winters are mild, while others pack a wallop of freezing temperatures. When the thermostat dips, it can happen in a hurry and leave many unprepared. One major problem is finding that your pipes have frozen. One likely culprit is that outside spigot which is attached to your house’s pipes.
Here’s how to keep your outside faucet from freezing.
First, you will need some tools, equipment, and materials. The list is not extensive, but you will want to make sure everything is done right. Make sure you have on hand these items before you get started:
- bucket
- channel-lock pliers
- insulated faucet cover
If your spigot has a shut-off valve, turn it off. If it does not have one, consider installing one to make your yearly winterizing easier. If you still have a hose attached to the faucet, remove it. Drain any water that is inside of the hose before coiling it up for storage in a shed or other dry spot. Once the hose has been removed, drained, and stored, it’s time to drain the faucet. Make sure the water valve is turned off, and then open up the spigot fully and allow any residual water to drain out.
If the water continues to trickle and never stops after the valve has been shut off, you will need to repair the valve. Do this by holding a bucket under the shutoff valve. Remove the bleeder cap on the valve if it has one. You will probably need pliers to loosen this cap. Let all of the residual water in the line drain into the bucket. Reinstall the bleeder cap, and tighten it until it is snug.
Once the water has been drained out of the faucet, it’s time to install an insulated faucet cover. The faucet cover will probably look like a piece of Styrofoam. It will not create any heat but will trap a small amount of the heat that radiates from the house. This small amount of heat is usually all it takes to keep the faucet from freezing and bursting. The faucet cover that you choose should come with easy-to-follow instructions. The basic idea is to secure the insulated cover to the faucet with a slight seal butted up against the outside of the house.
Of course, you can always go the extra step and replace your outside standard faucet with a frost-proof one. A frost-proof faucet is controlled with a long rod that extends into the home where a cartridge or compression valve will control the flow of water. Most are self draining, so you will not need to worry about draining residual water each year. Since the valve is inside the warm house, there is no danger of the faucet freezing.
A freeze proof or frost-free faucet will give you better protection against the freezing weather. It will also keep you from needing to winterize your outdoor spigot every winter. To install a frost-proof faucet, you will probably need a screwdriver, channel-lock pliers, a tape measure, tubing cutter or hacksaw, a caulk gun, sandpaper or emery cloth, corrosion-resistant screws, exterior caulk, and of course, the frost-proof faucet with push-fit connector. The faucet you buy should come with installation instructions. Or, you can have a plumber install it.