While most DIY tasks in the garden can be pretty simple in nature, some require a touch more effort. For example, let’s say you’ve found some broken slabs of concrete and you want to replace them. Sure, you could buy a slab from the store…but why not make one yourself?
Pouring a concrete slab can be a cost-effective solution to buying one outright. It will take a few hours, and a couple of days in total to allow for setting times. Here’s a general starting place for pouring a concrete slab correctly – you can then take it further via further research and trials. You’ll likely need some help for this, too, and you’ll also need a wheelbarrow so be sure to have the tools and manpower needed before starting.
Start with ready-mix concrete
Since this is likely to be a DIY task you don’t take on regularly, you might wish to go for a ready-mix concrete. Look for a brand that is crack-resistant if you can. To create ready-mix concrete, you simply need to pour the wet mix into a wooden form that takes the dimensions of the slab you wish to create. Once set and cured, you can chip away the wooden form and leave yourself with a perfectly good slab!
You should be able to buy ready-mix concrete from just about any home center and/or DIY store. Contained within is everything you need to make your mixture – you’ll simply need some water to do that.
Getting started
Before you begin, though, make sure that the day you start with is a dry, warm day. You want consistent, heat, too, on the day and after pouring. So, try and leave the slab creation until it’s a nice warm day. If you create your slab in colder conditions, you likely create the chance of the slabs taking longer to actually cure. As ever, make sure you have protection around the face, too, as concrete mixture can become a real irritant to the lungs.
Now, measure out the exact amount of space you are going to need to create the slab with a tape measure. Lay this out on the ground, and then place four markers on the ground so you know where the slabs corners and edges will be. Now, remove as much turf as you need to dig down. A typical slab will be around 4”, so you want to dig around 6” beyond where you have marked – this gives you extra room to work without challenge.
You’ll likely need something to create a proper surface for working on, so invest in some all-purpose gravel and lay this down. Do this, and pour that into the slab area. Flatten it down and ensure it is level and compact throughout. Now, mark the size of the slab within this using the wood markers discussed earlier. Cut these into shape, and build the form with galvanised nails. Place the form down onto the gravel base. Use some excess pieces of wood to create a stable balance for the form, and drill/nail them into onto the corners of the form to help give it more balance when pouring.
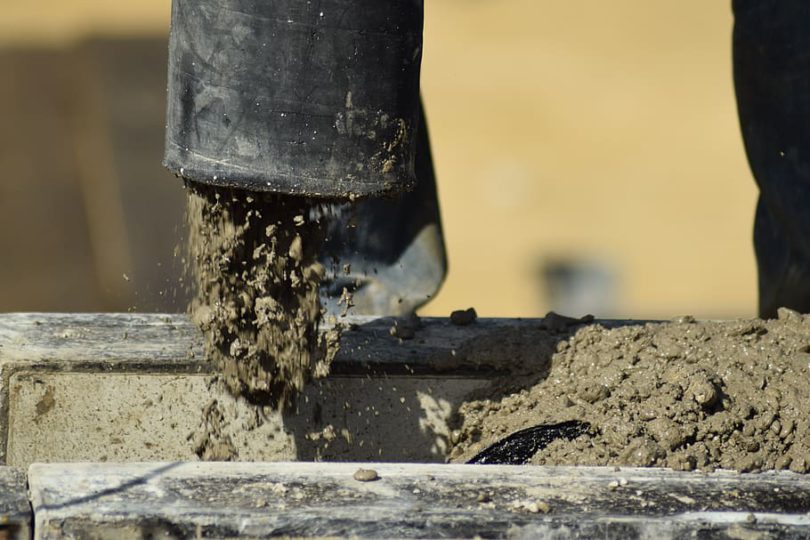
Pouring the concrete
Now, you will need to coat the inside of the form with a concrete form releasing agent – again, you can pick this up in most DIY stores. Now, web down the gravel flooring. Within your wheelbarrow, now would be a good time to mix up the ready-mix concrete you have purchased. Simply follow the instructions given – each bag will differ to an extent. Once at the correct consistency, pour it into the form and make sure the concrete fills the form to a level that is balanced.
Make sure the concrete is level and that you get rid of any excess – this could be done with an excess piece of wood from the creation of the form. Pull the concrete off the side onto the excess ground layer you made earlier. Edge around the form slowly, lightly tapping on it with a hammer to try and remove any air pockets and spaces that might still exist. Smooth out the concrete as best you can, perhaps with a trowel, to ensure you get the best possible finishing effect.
Now, you will need to simply give the concrete time to set and cure – this should take around two days. Try and keep the slab wet at all times with a garden hose, and if possible, use a plastic wrapping to cover-up the slab. Please note that your slab won’t have total strength for at least 28 days in most cases, so don’t go trying to use and place it just yet!